
Damn altruistic, I be a'thinkin'. And spares me from another manic-depressive spiral.
And clears out some of the crap I've got hanging around the house. Big plus.
First the major components are gathered, so I may commune with them in an atmosphere of mutual appreciation of the journey we will undertake. Life is a journey, time is a river, the world is a village, the door is a jar.
So much for zen.
Anyhoo . . .

The pieces are part of a kit bought by David Veasey from Najewitz Modellbaushop. The link is:
http://www.lasermodellbau.de/
Check out the gallery for some of the buildings I have made using these kits.
Resin walls, laser-cut roof and roof supports. Gives quite a scope to the variety of buildings that can be created. And don't forget, all sins can be covered with superglue, Squadron Green Stuff, paint and flocking material.

Nice texture on the walls, open windows with great middle eastern shapes. The resin can be cut, though not easily, but perseverance pays off. The following pics show a building I made, where I cut side walls in half to create an upper storey with balcony. None too shabby.


And back to the job at hand. Laser cut wooden pieces for roof support. More anon.


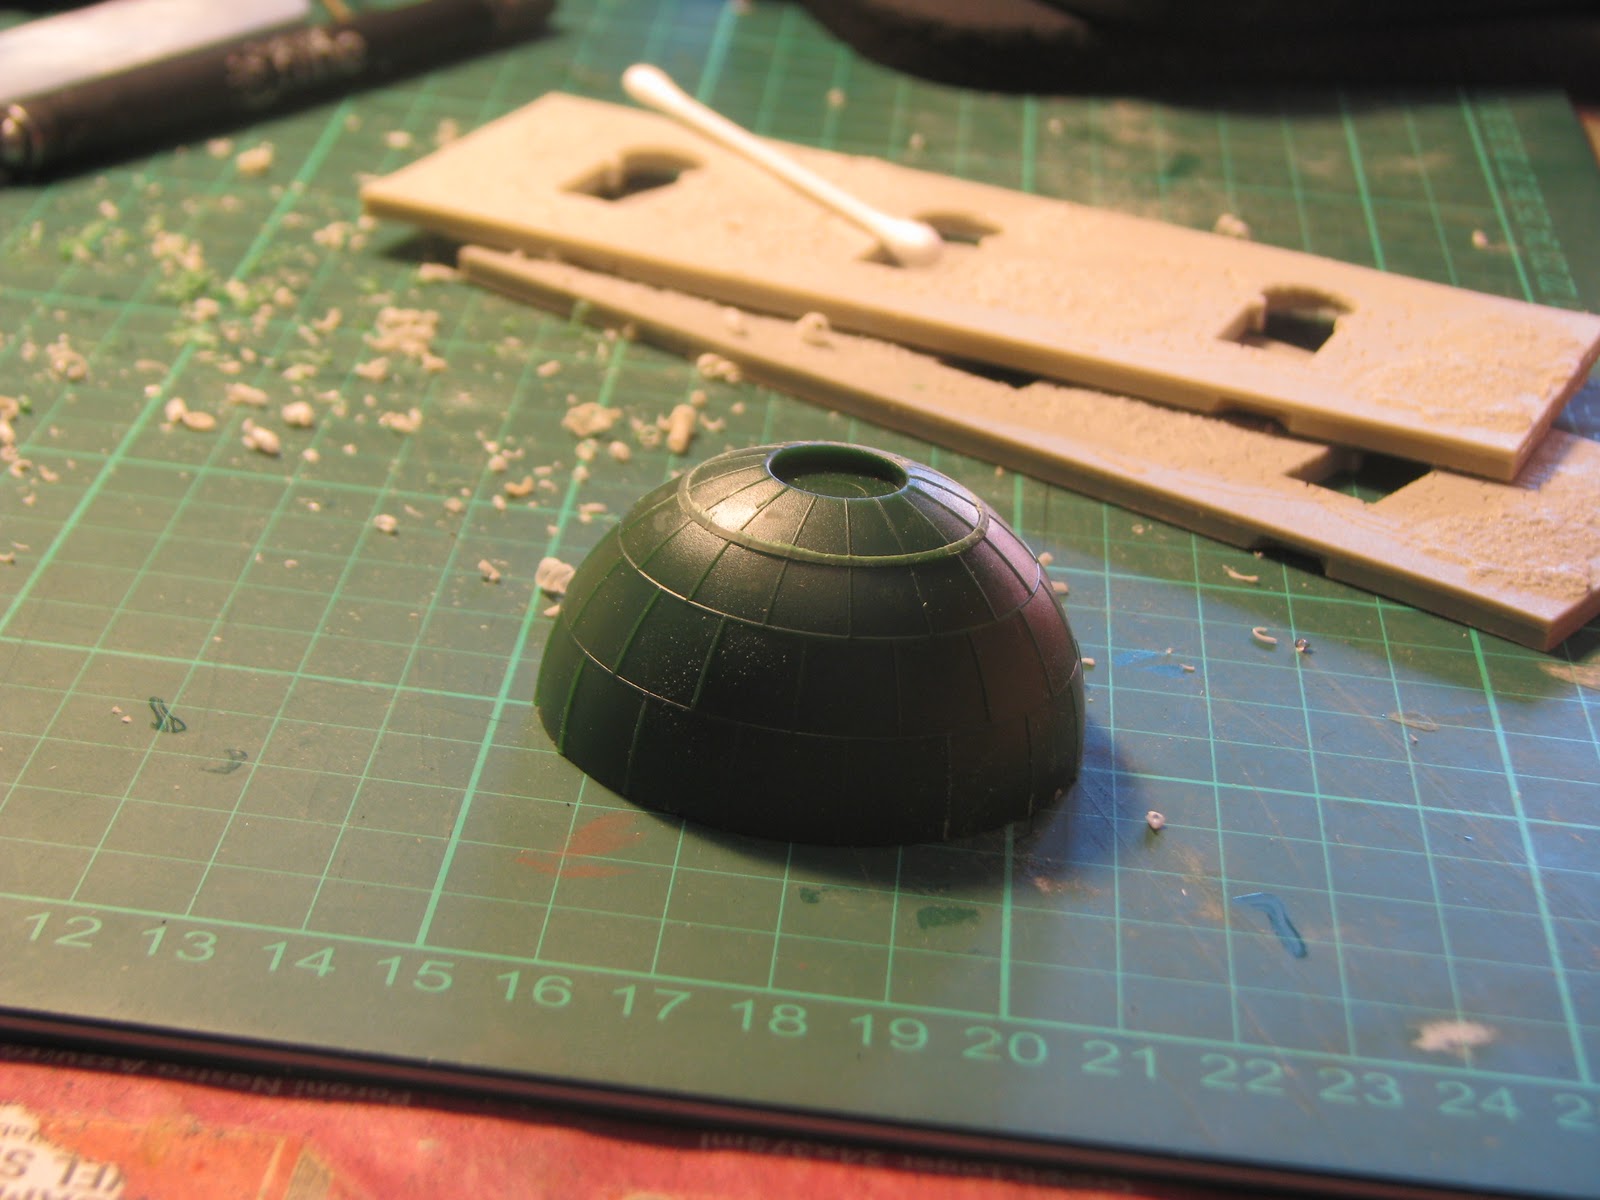
Clean up of resin ensues. Excess resin is removed from windows and doors and from the little holes above the windows. The tabs are removed from the top of the wall. These are locaters if an upper storey is to be built. As this is a single storey, off they come.

The wooden supports are placed and glued into these little holes.


You might have noticed the domes in a previous pic. These are two halves of a water tower from a model railroad kit, specifically Faller N222143. Using the dome pieces leaves a variety of girders and ladders, sure to be useful in future projects. No part of the animal is wasted after the kill.
The dome is sanded back to remove the weld lines leaving a smooth surface and is glued to the roof section. Two open trapdoors in the roof are also closed as are the doors in one of the wall sections.


Now the fun bit. I found this product in my local art store. Sticky backed grillwork. Well, that's what I use it for. Just peel it off the backing paper and apply.

By placing it over the windows, sticky side to the wall, it creates a great grill effect for middle eastern and Indian buildings.


Don't worry about the sticky side facing out of the windows, paint will cover it thus negating the sticky effects. (Only here will the word "thus" be used - I promise).
I am left with the backing paper, but here's a thought:

The sticky stencilling is about $3 a sheet at my art store (Eckersleys for those in Oz) and comes in a variety of designs.

For example the leaf design on the dome and the curlicues below the arches are from this range. If I can remember the name of the manufacturer I will post it. But in the interim I would suggest checking out the scrap-booking section of your local arts and crafts shop.


The next step will be filling, painting and landscaping, so stay tuned.
Ain't it grand? It's all too damned wonderful, to be sure.
Cheers
PC
Love your work Peter, well done.
ReplyDeleteHelen
Excellt blog, thx. Will return so you better update frequently ;)
ReplyDeletelovely work Peter,
ReplyDeletegreat how to build, lots of good ideas mate.
mosaic floors.....I need them for my romans buildings thanks for the tip!
cheers
Matt